 Thu, 10 Dec 2009 |
 Tue, 22 Dec 2009 |
 Tue, 22 Dec 2009 |
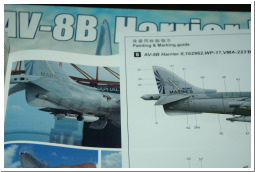
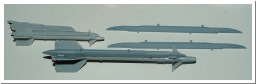
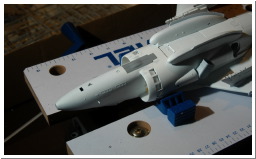
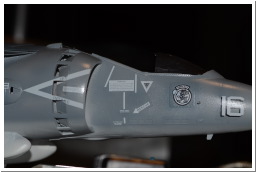
| Decals are provided for VMA-223 WP-17 but I want to make WP-16 | Kit is missing the LAU-7 launch rails for the sidewinders :/ so had to make some | |
 Wed, 23 Dec 2009 |
 Wed, 23 Dec 2009 |
 Thu, 24 Dec 2009 |
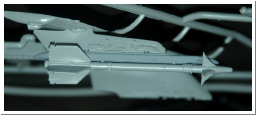
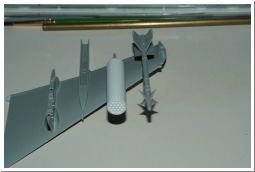
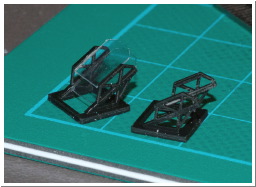
| also made this gattling gun insert for the gun pod - it's quite small. | LAU-61 | |
 Mon, 28 Dec 2009 |
 Mon, 28 Dec 2009 |
 Mon, 28 Dec 2009 |
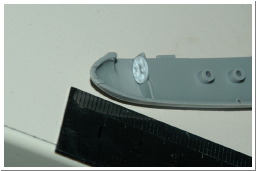
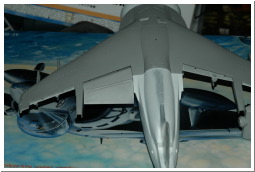
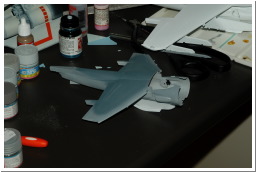
| Kit isn't designed to be built with wheels up so had to make new door piece. | Also the flaps are designed to be built level and require some alteration to be built in the down position. At least the top section is in 2 parts so the flaps can be split correctly. | |
 Mon, 28 Dec 2009 |
 Sat, 22 May 2010 |
 Sat, 22 May 2010 |
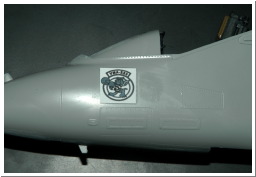
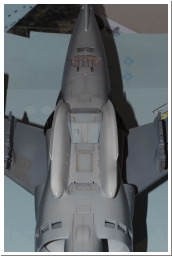
| VMA-223 insignia test. Needs a few tweaks but looks do-able. Time to dust of the ALPS printer. Also need to make the nose number and the kit is missing a whole bunch of misc small markings. | Again - the kit is not meant to be built "wheels up" which means new landing gear doors are scratched for the outrigger gear. | The kit doors are flat - real doors aren't. I think they should look like this when the wheels are up... |
 Sun, 23 May 2010 |
 Wed, 5 Jan 2011 |
 Sun, 2 Jan 2011 |
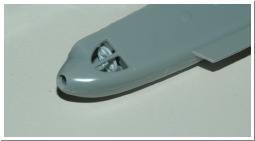
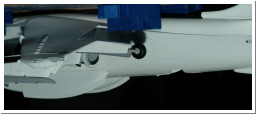
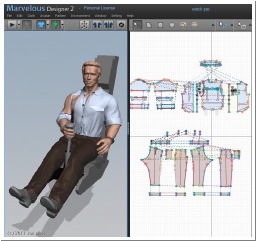
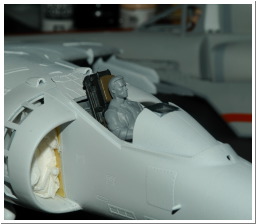
| The front gear doors have a distinctive hump in the middle. Kit doors have a bit of a hump but can't be fitted closed. So... made new front gear doors. | This will be the pilot figure. Korean program called "marvelous designer" allows clothing patterns to be laid out in 2D then simulated into a 3D shape over a figure - complete with rips and rolled up sleeves. | |
 Mon, 3 Jan 2011 |
 Mon, 3 Jan 2011 |
 Mon, 3 Jan 2011 |
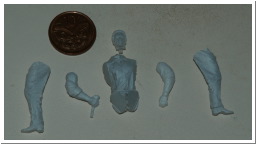
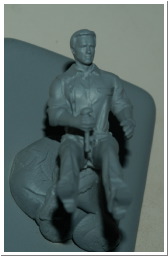
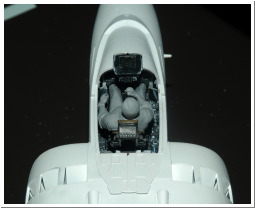
| assembled and primed | It's a tight squeeze but pilot fits. May need to shave a bit off his butt since he's sitting a bit high and leaning back too far. | |
 Tue, 4 Jan 2011 |
 Tue, 4 Jan 2011 |
 Wed, 5 Jan 2011 |
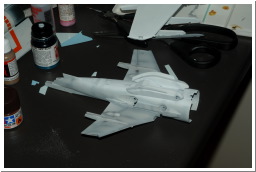
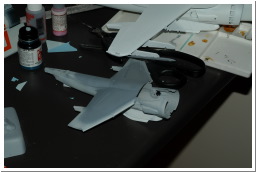
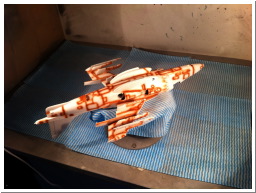
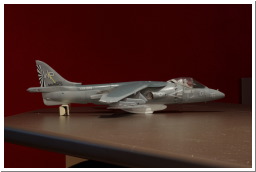
| bashed together a 1/48 harrier to test some paint colours. Real plane has 2 shades of grey and 2 shades of white. I don't seem to be getting enough contrast beween the white and light grey. | This looks OK - but it turns out the darker grey should be on the fuselage sides, with the light grey on the bottom and FS36118 on top (see next pic) | after some more research I discovered the middle grey should be FS36320 (Gunze 307) which I happend to have a jar of. So mixed up a darker blue/grey for the top. Now to see if I can actually find Gunze 305 (FS36118) and 308 (FS36375) in NZ. |
 Fri, 7 Jan 2011 |
 Sat, 8 Jan 2011 |
 Sun, 9 Jan 2011 |
| preshading looks like ass but, the theory is, you can remove as much of it as you want with the top coat. I'll be using brown preshading under the light grey, dark blue under the mid-grey and black under the dark grey... | more preshading... | |
 Sun, 9 Jan 2011 |
 Sun, 9 Jan 2011 |
 Sun, 9 Jan 2011 |
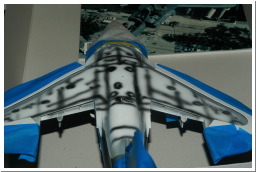
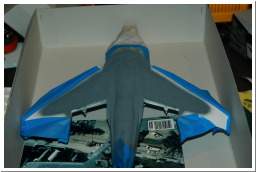
| masking the top. The edges are slightly feathered so the wing masks were cut from 0.5mm card and raised slightly with blu-tack | painted | non flash photo |
 Sun, 16 Jan 2011 |
 Sun, 14 Jul 2013 |
 Sun, 14 Jul 2013 |
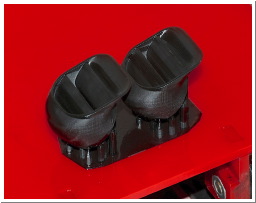
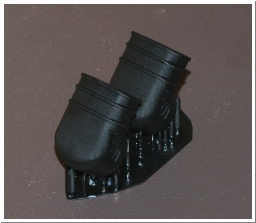
| got the light grey underside painted and feathered the edge of the dark grey. Gun pods still need a coat of white. | 3D ammo feed cover | 3d printed ducts |
 Wed, 29 May 2013 |
 Sun, 16 Jun 2013 |
 Sat, 29 Jun 2013 |
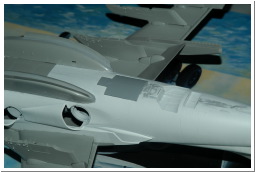
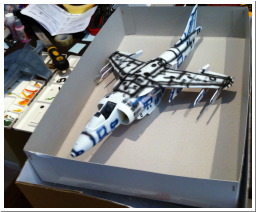
| 3d printed ducts | decals - printed on ALPS - they'll get a mist of blue-grey paint to blend them in | HUD frame - 3d printed |
 Sat, 29 Jun 2013 |
||